10 Smart Art Cart Organization Ideas for Kids
We may earn a commission through all links on this website. As an Amazon Associate, we earn from qualifying purchases.Unleashing your child’s creativity can be a messy affair, but with a little planning and a lot of fun, you can turn their artistic endeavors into a joyful and organized experience. A well-stocked art cart is the key to unlocking imagination and self-expression, and with a few simple DIY ideas, you can create a mobile masterpiece station that’s as functional as it is fabulous.
In this article, we’ll explore the best art cart organization ideas for kids, from repurposed crates and baskets to clever storage solutions and clever hacks, and show you how to turn your little one’s creative chaos into a colorful and contained masterpiece.

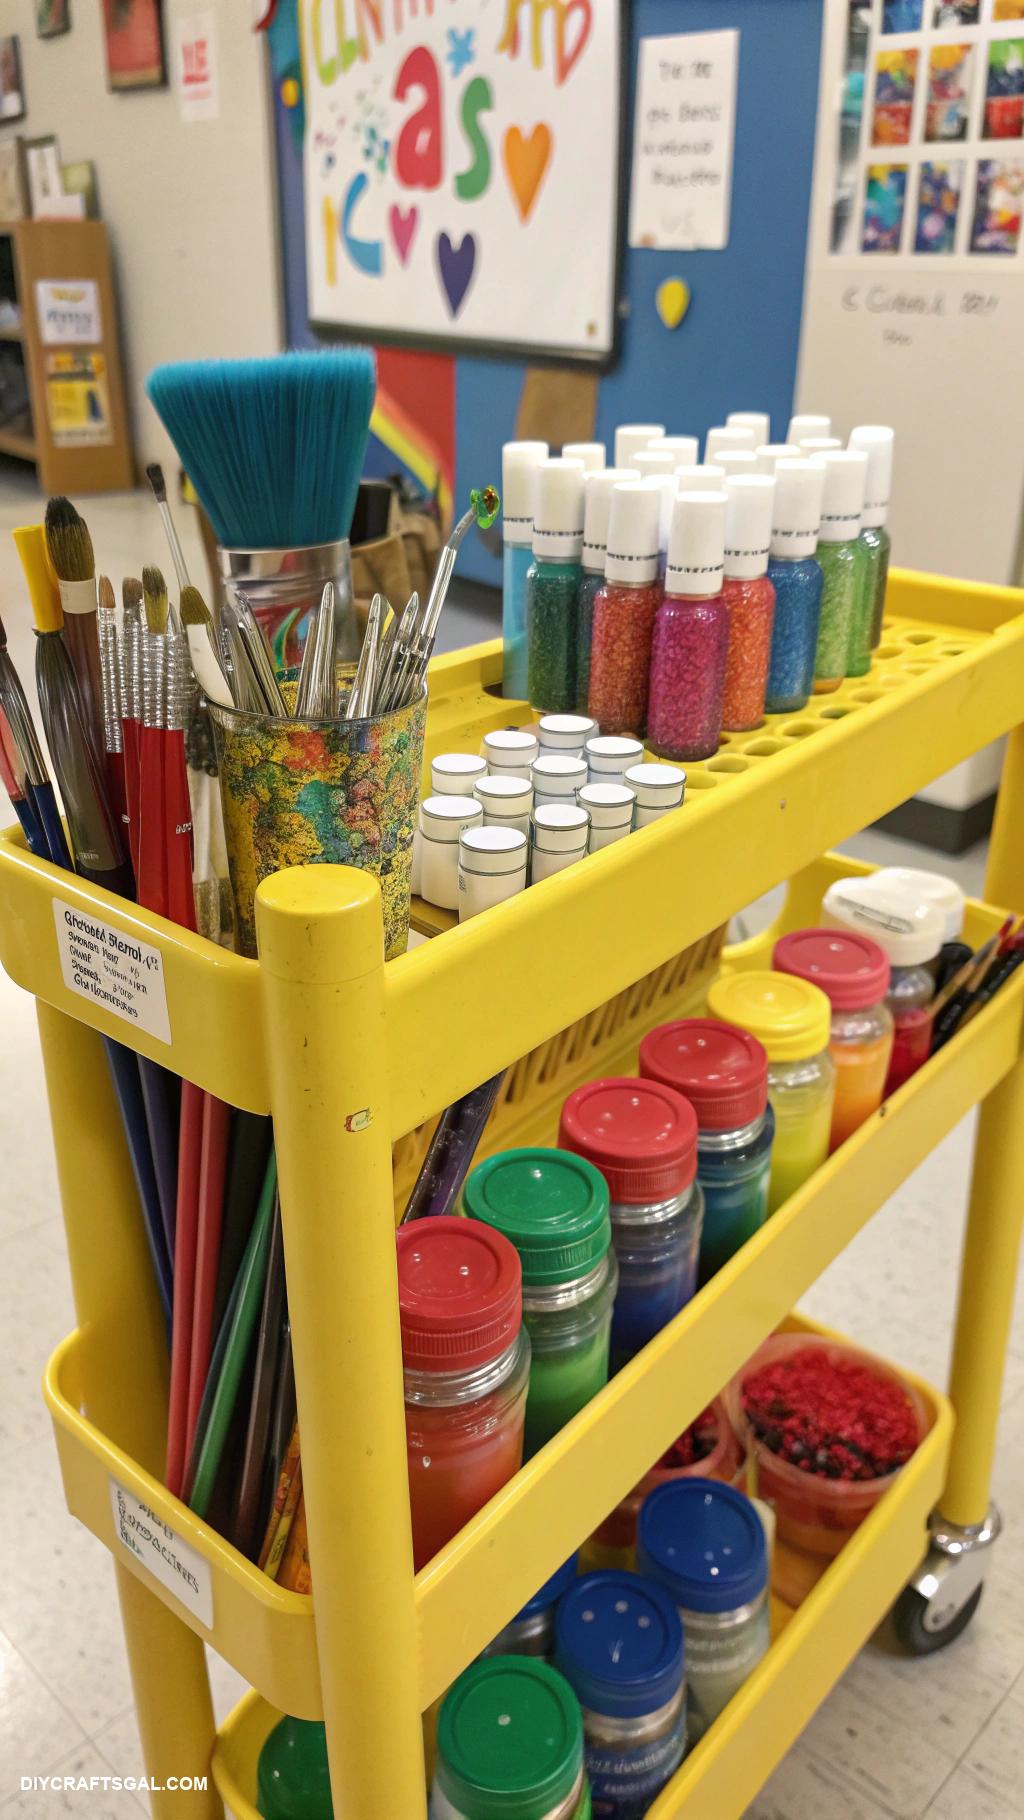
Color-Coded Bins for Supplies
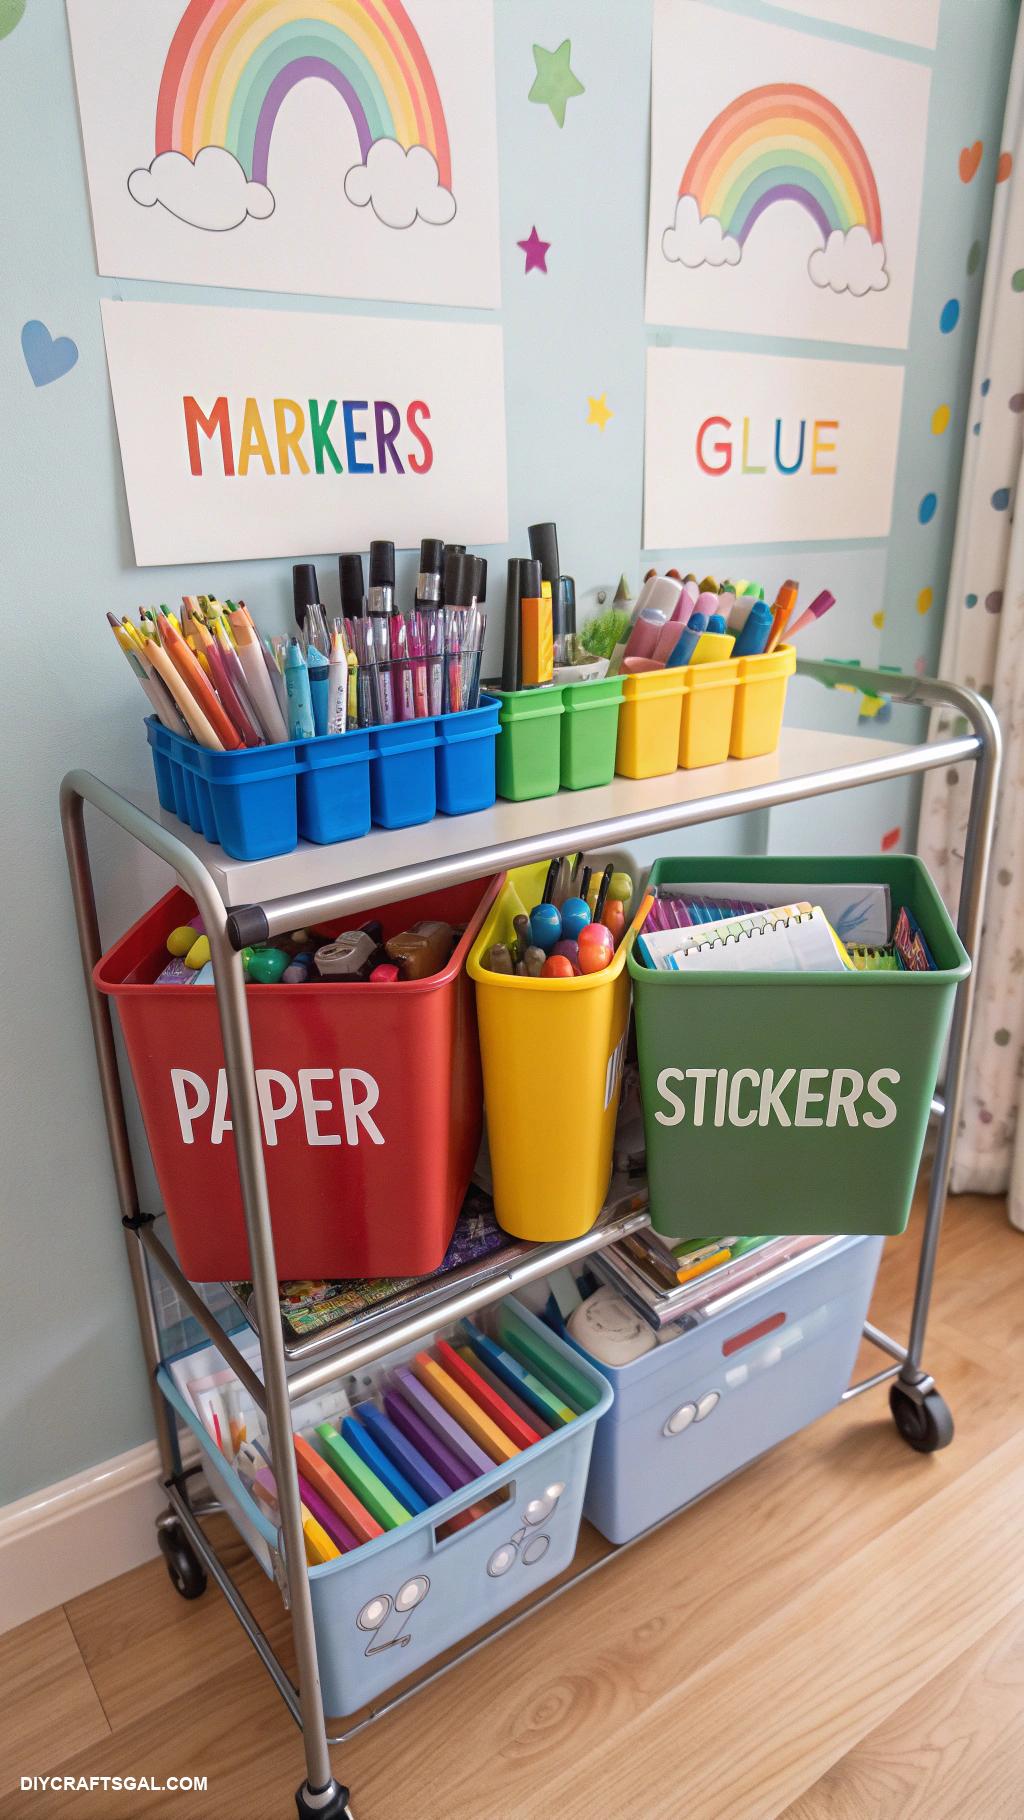
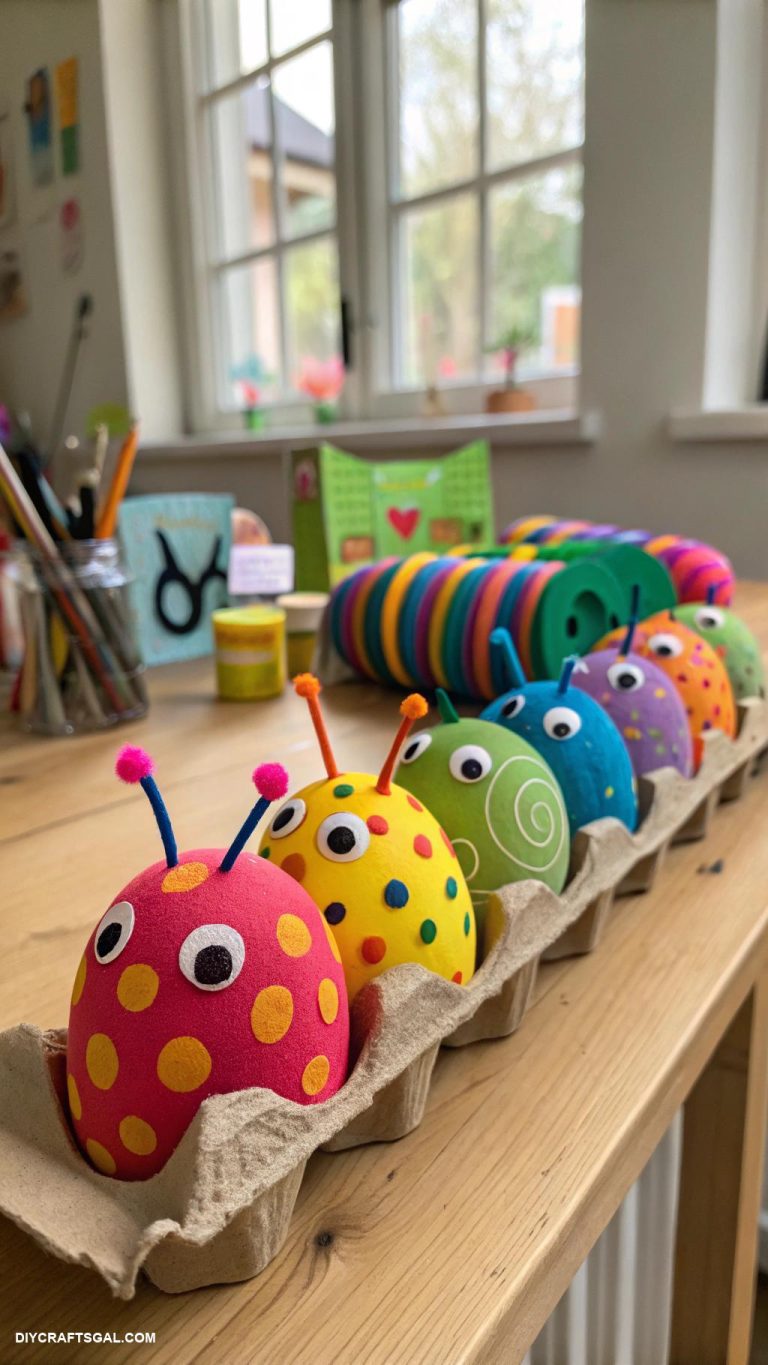
Color-coded bins for supplies are an effective way to organize art carts for kids, making it easy for them to find and return materials. By using different colors for various categories like paints, brushes, and papers, children can quickly identify where items belong. This visual system not only aids in organization but also encourages independence and creativity as kids explore their artistic endeavors. Implementing this simple color-coded solution can transform any craft cart into a fun and efficient workspace.
Repurposed Shoe Organizer for Tools
A repurposed shoe organizer can serve as a brilliant tool storage solution for an art cart dedicated to kids’ crafts. By hanging it on the side or back of the cart, you can create easily accessible pockets for brushes, markers, scissors, and other supplies. This not only keeps the workspace tidy but also teaches children the value of organization. With a splash of paint or fun stickers, the shoe organizer can also add a playful touch to the art cart, making it an inviting space for creativity.
Magnetic Strips for Paintbrushes
Magnetic strips are a fantastic addition to any art cart organization for kids, offering a simple solution to keep paintbrushes within easy reach. By attaching a strip to the side of the cart, you can neatly display brushes upright, preventing them from rolling around and getting damaged. This not only saves space but also encourages kids to keep their tools organized, fostering good habits from an early age. Plus, it adds a fun, creative element to their crafting area!
Rolling Cart with Pegboard Sides
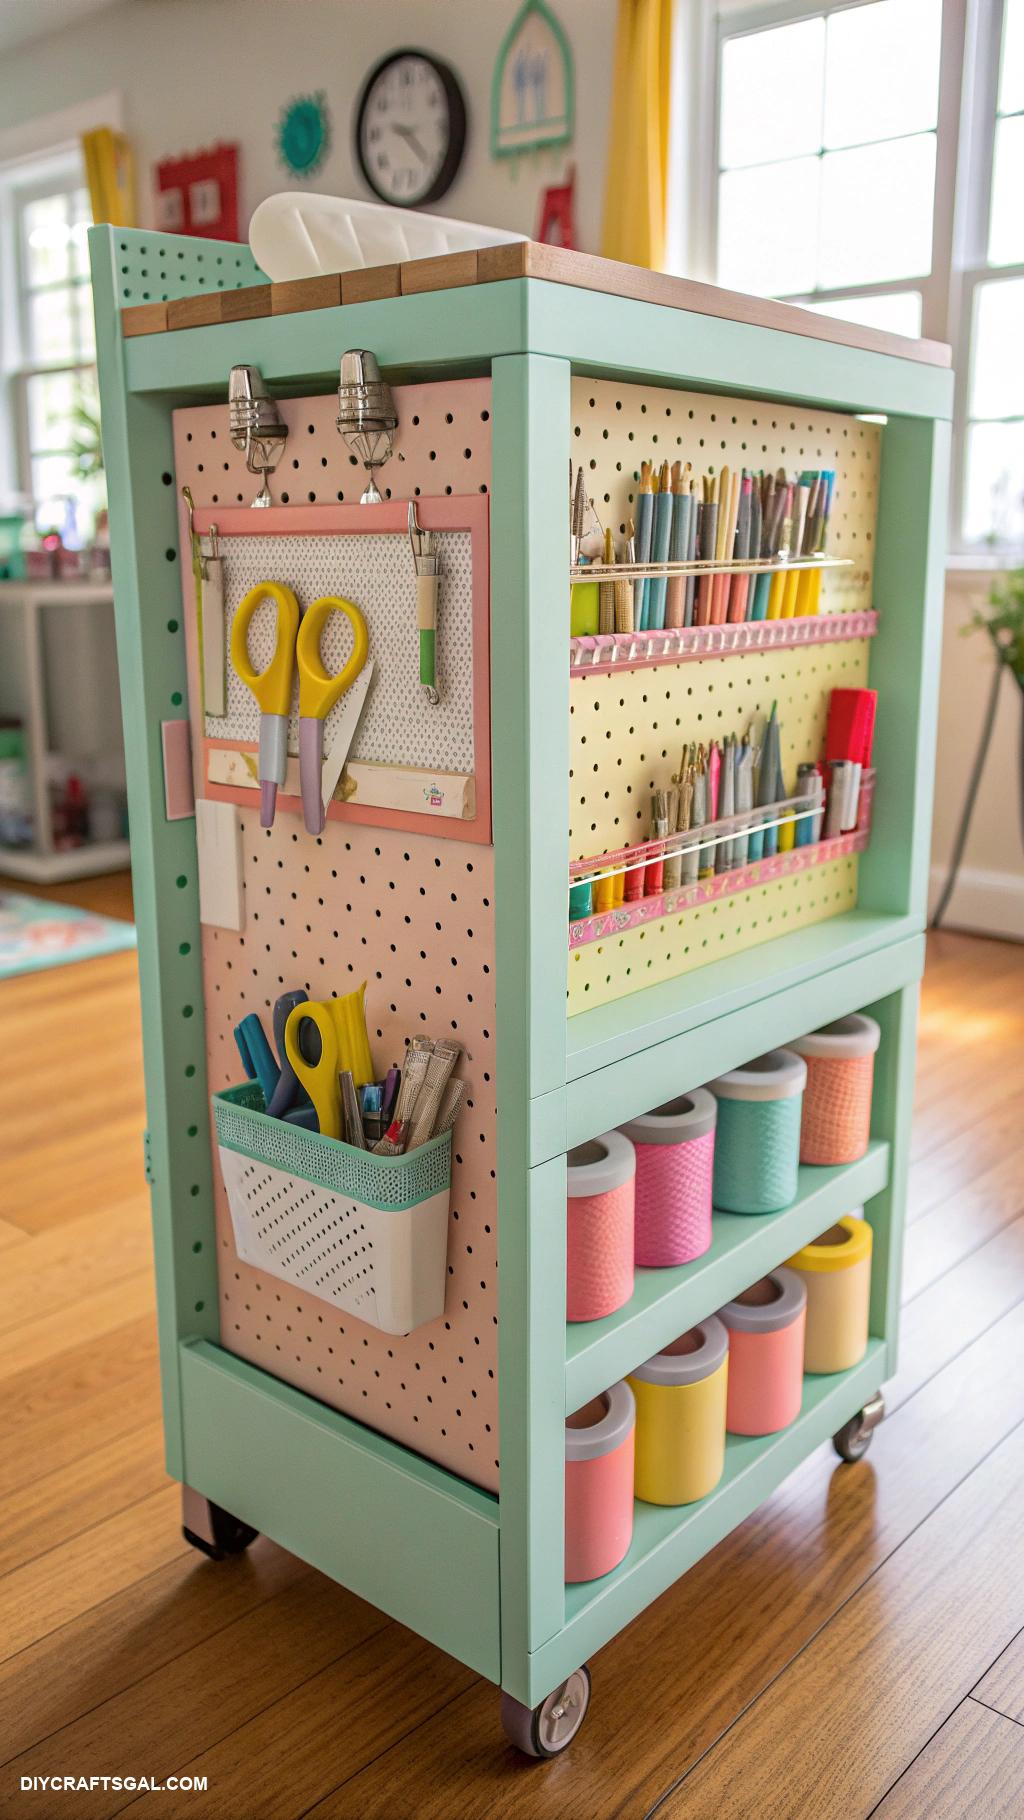
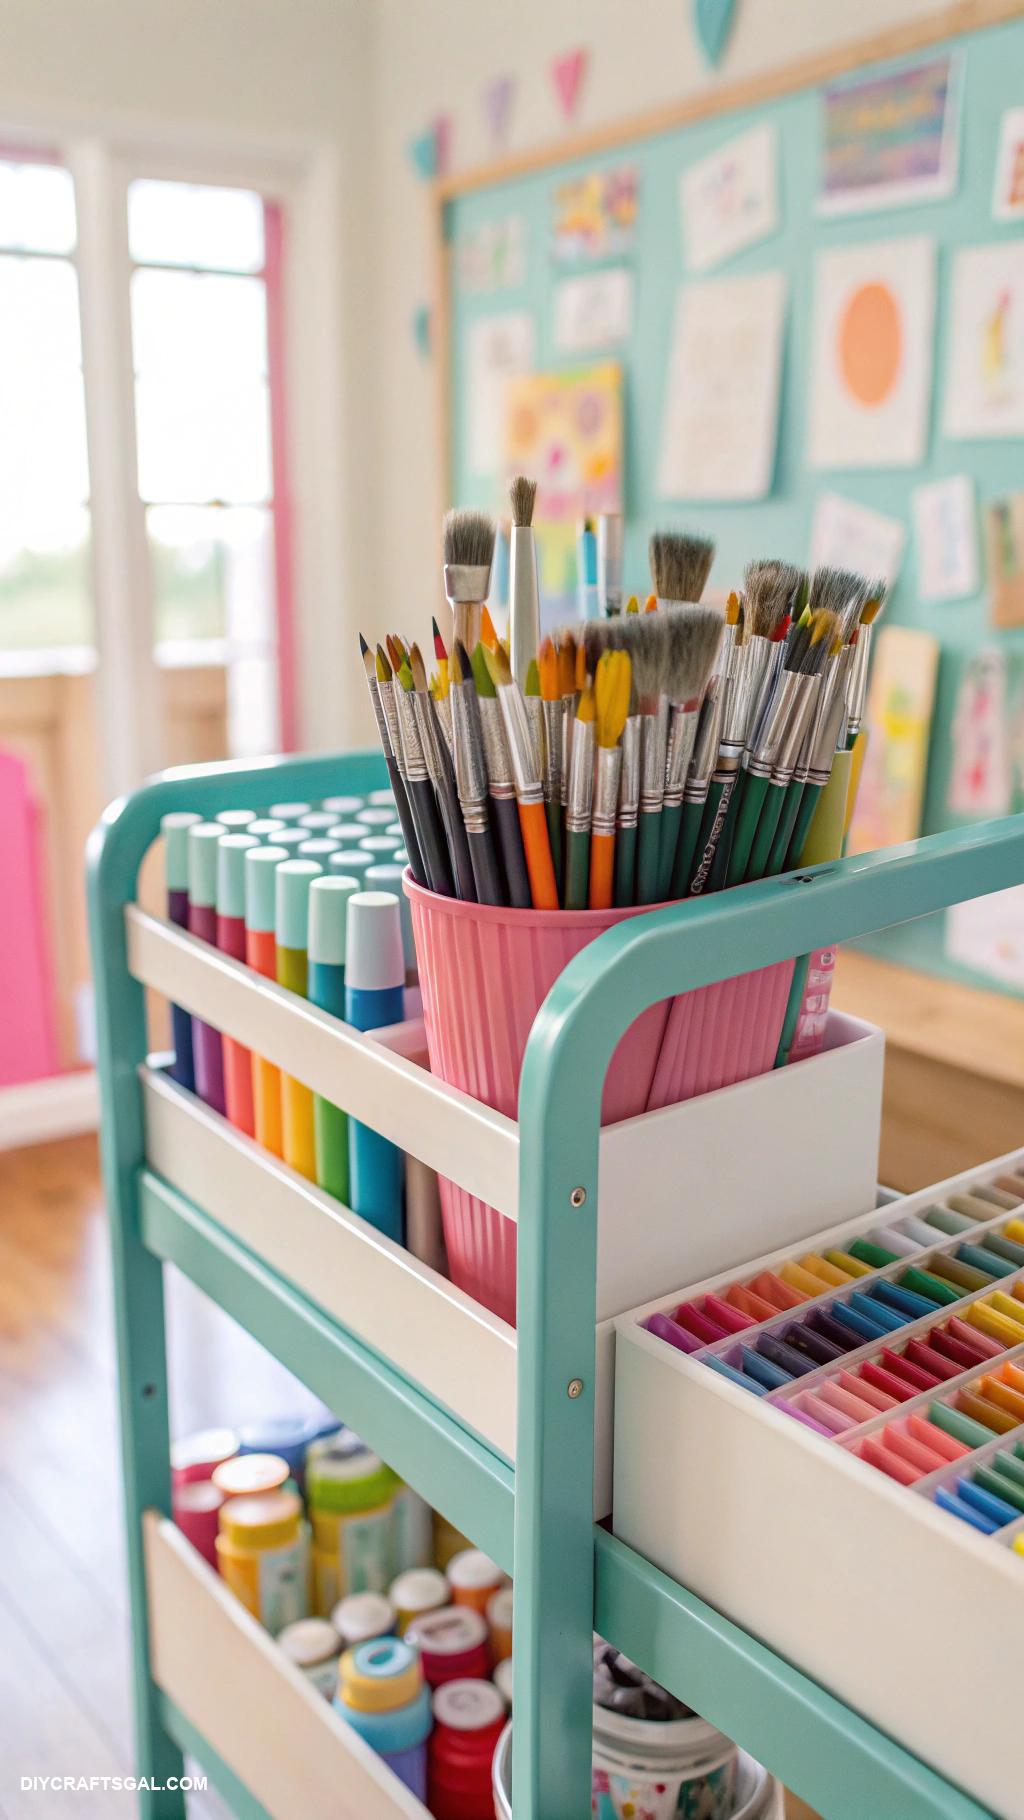
A rolling cart with pegboard sides is an excellent solution for organizing art supplies for kids. The pegboard allows for customizable storage options, enabling children to hang their favorite tools, such as scissors, brushes, and markers, within easy reach. With wheels for mobility, this cart can be moved around the house or classroom to create an inspirational crafting space wherever it’s needed. Plus, the vibrant colors and playful design can make organizing fun and engaging for young artists.
DIY Art Supply Caddy From Tin Cans
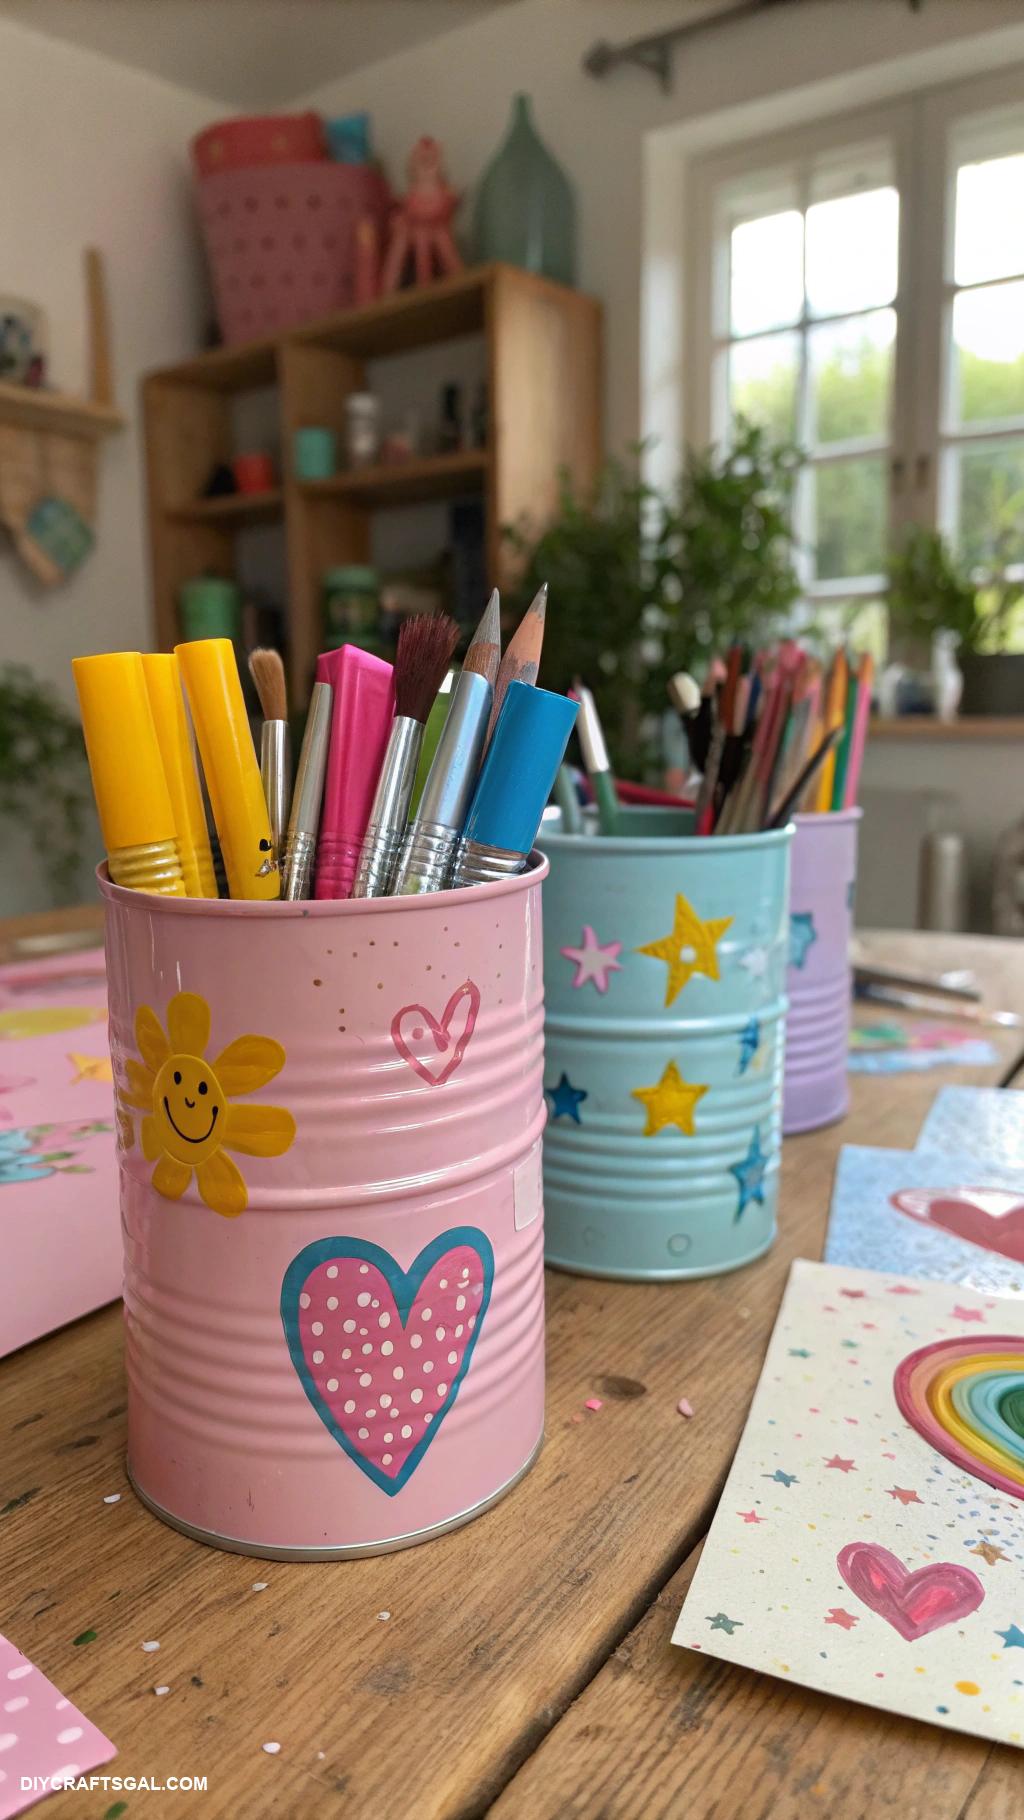
Transforming tin cans into a charming DIY art supply caddy is a fun and eco-friendly project that encourages creativity and organization for kids. Simply clean and paint the cans in vibrant colors, then attach them to a wooden base or a small tray for easy mobility. Fill each can with different art supplies like brushes, markers, and crayons, making it easy for little ones to find what they need. This colorful caddy not only keeps art materials neatly stored but also serves as an inspiring centerpiece for any creative space.
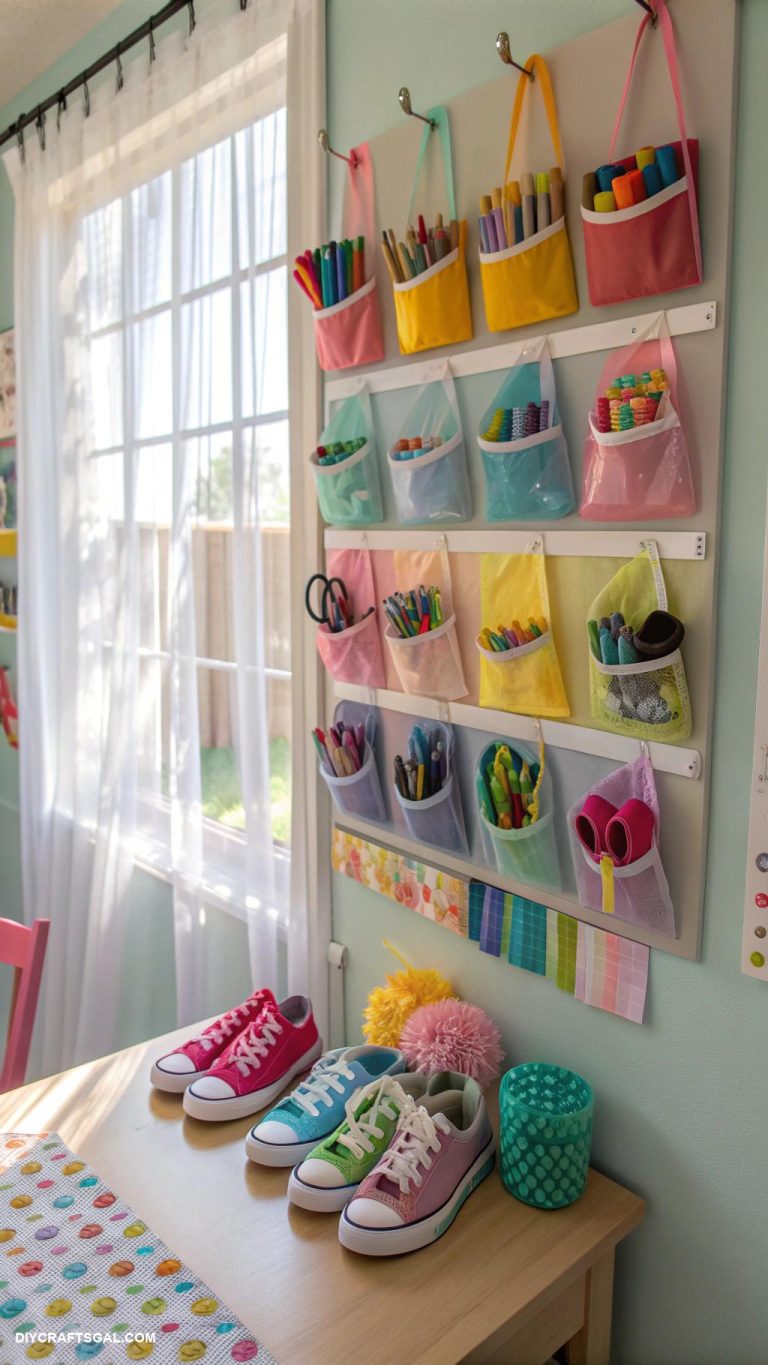
Hanging Wall Pockets for Storage
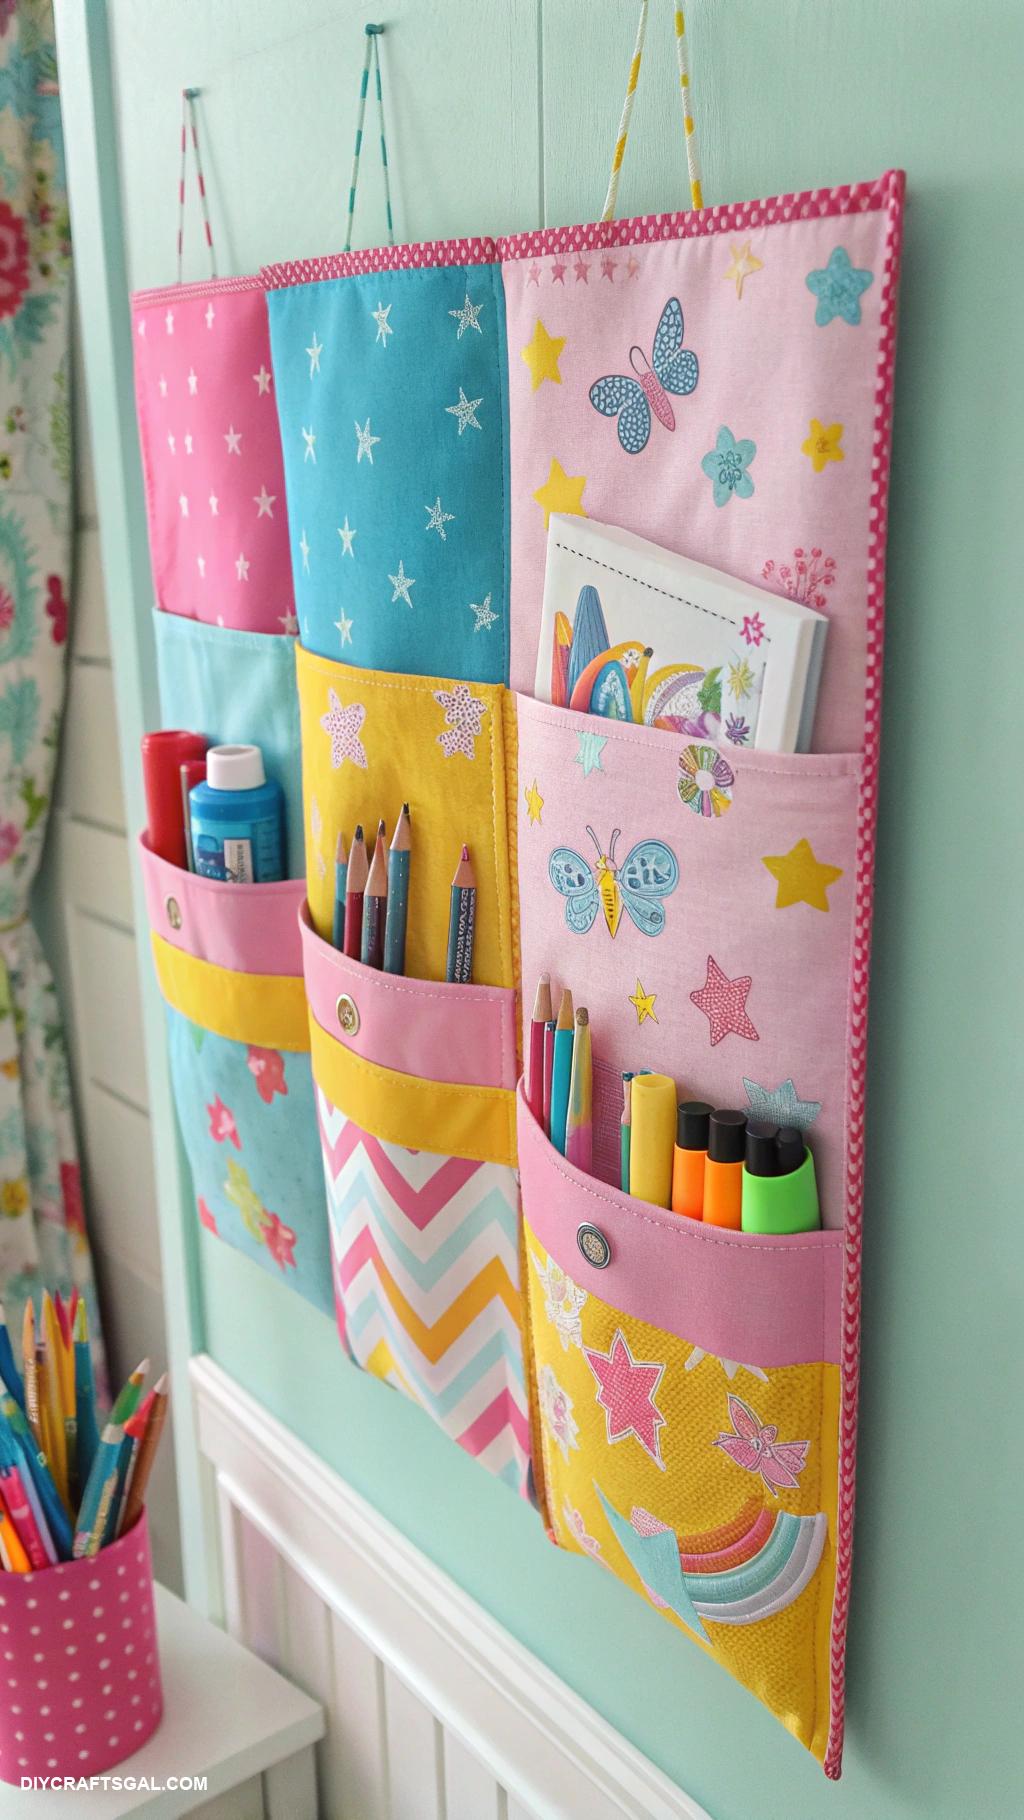
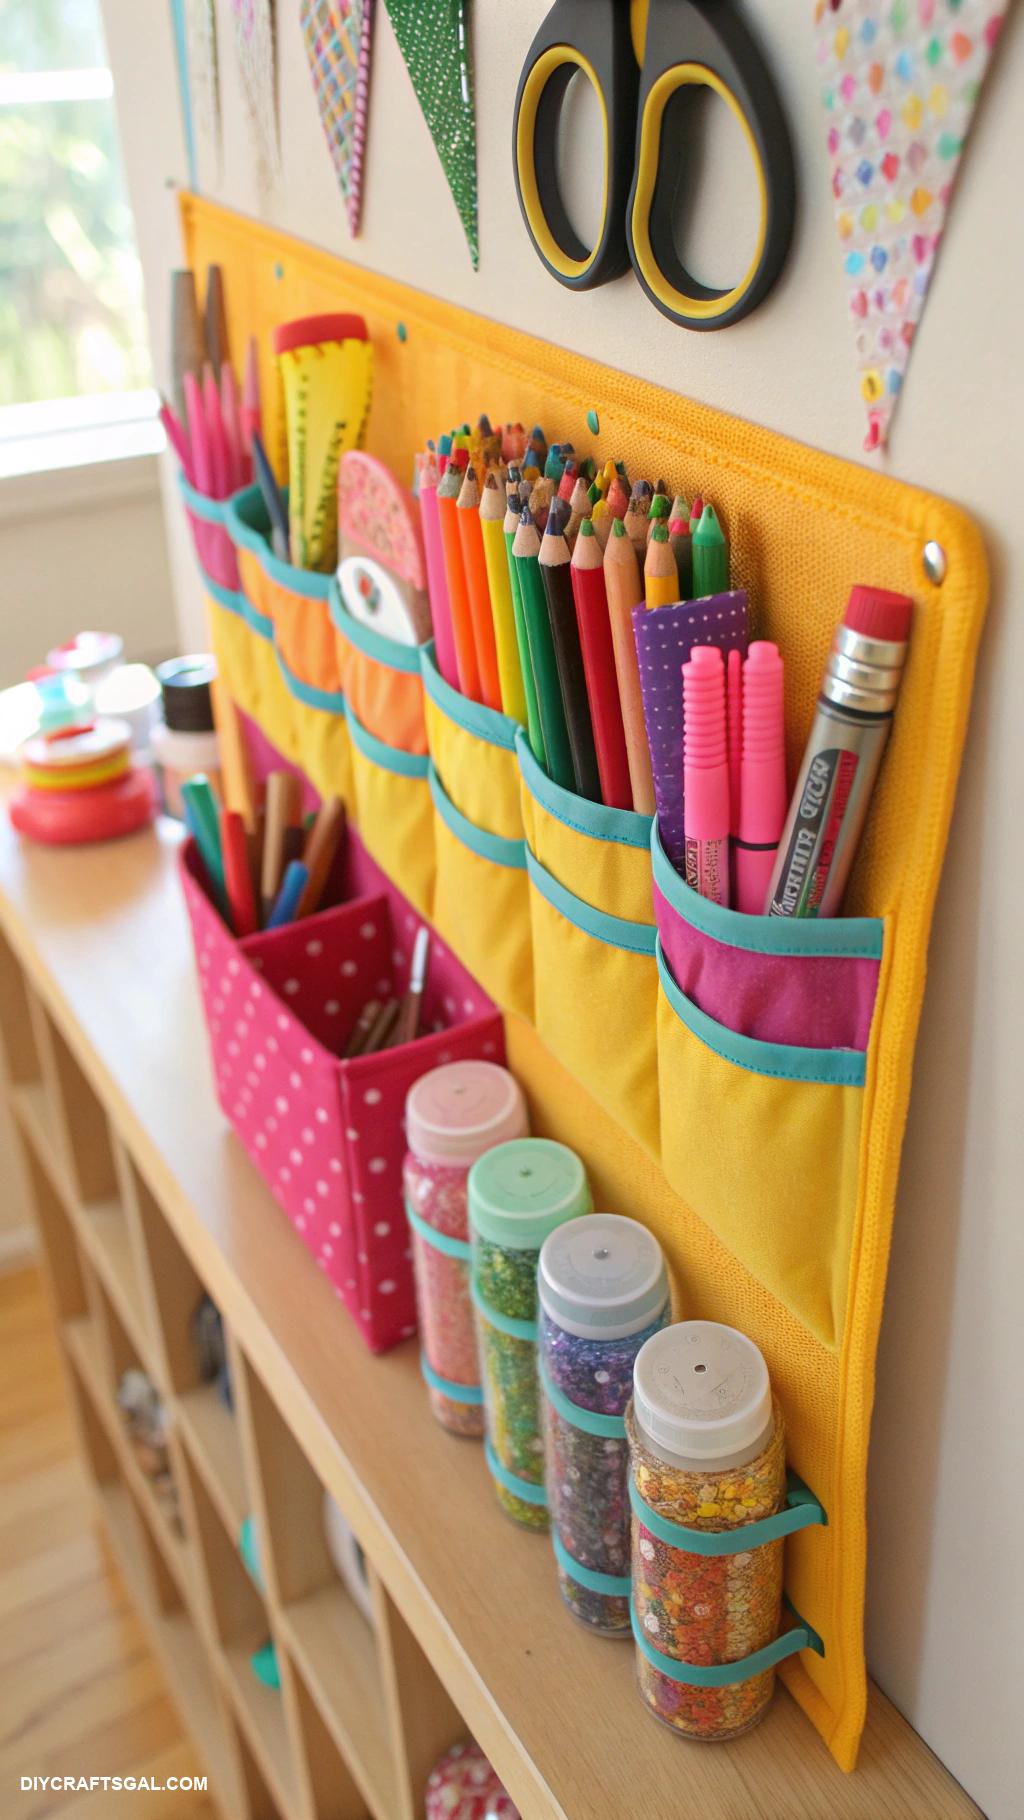
Hanging wall pockets are a fantastic addition to any art cart organization for kids, providing a clever solution for keeping supplies within easy reach. These stylish and functional pockets can be made from durable fabric or even repurposed materials, allowing for a colorful and personalized touch. By attaching them to the side of the cart or a nearby wall, you can create dedicated storage spaces for items like markers, scissors, and papers, minimizing clutter and maximizing creativity. This DIY project not only enhances organization but also encourages kids to take ownership of their art supplies, fostering independence in their crafting adventures.
Labeled Jars for Small Items
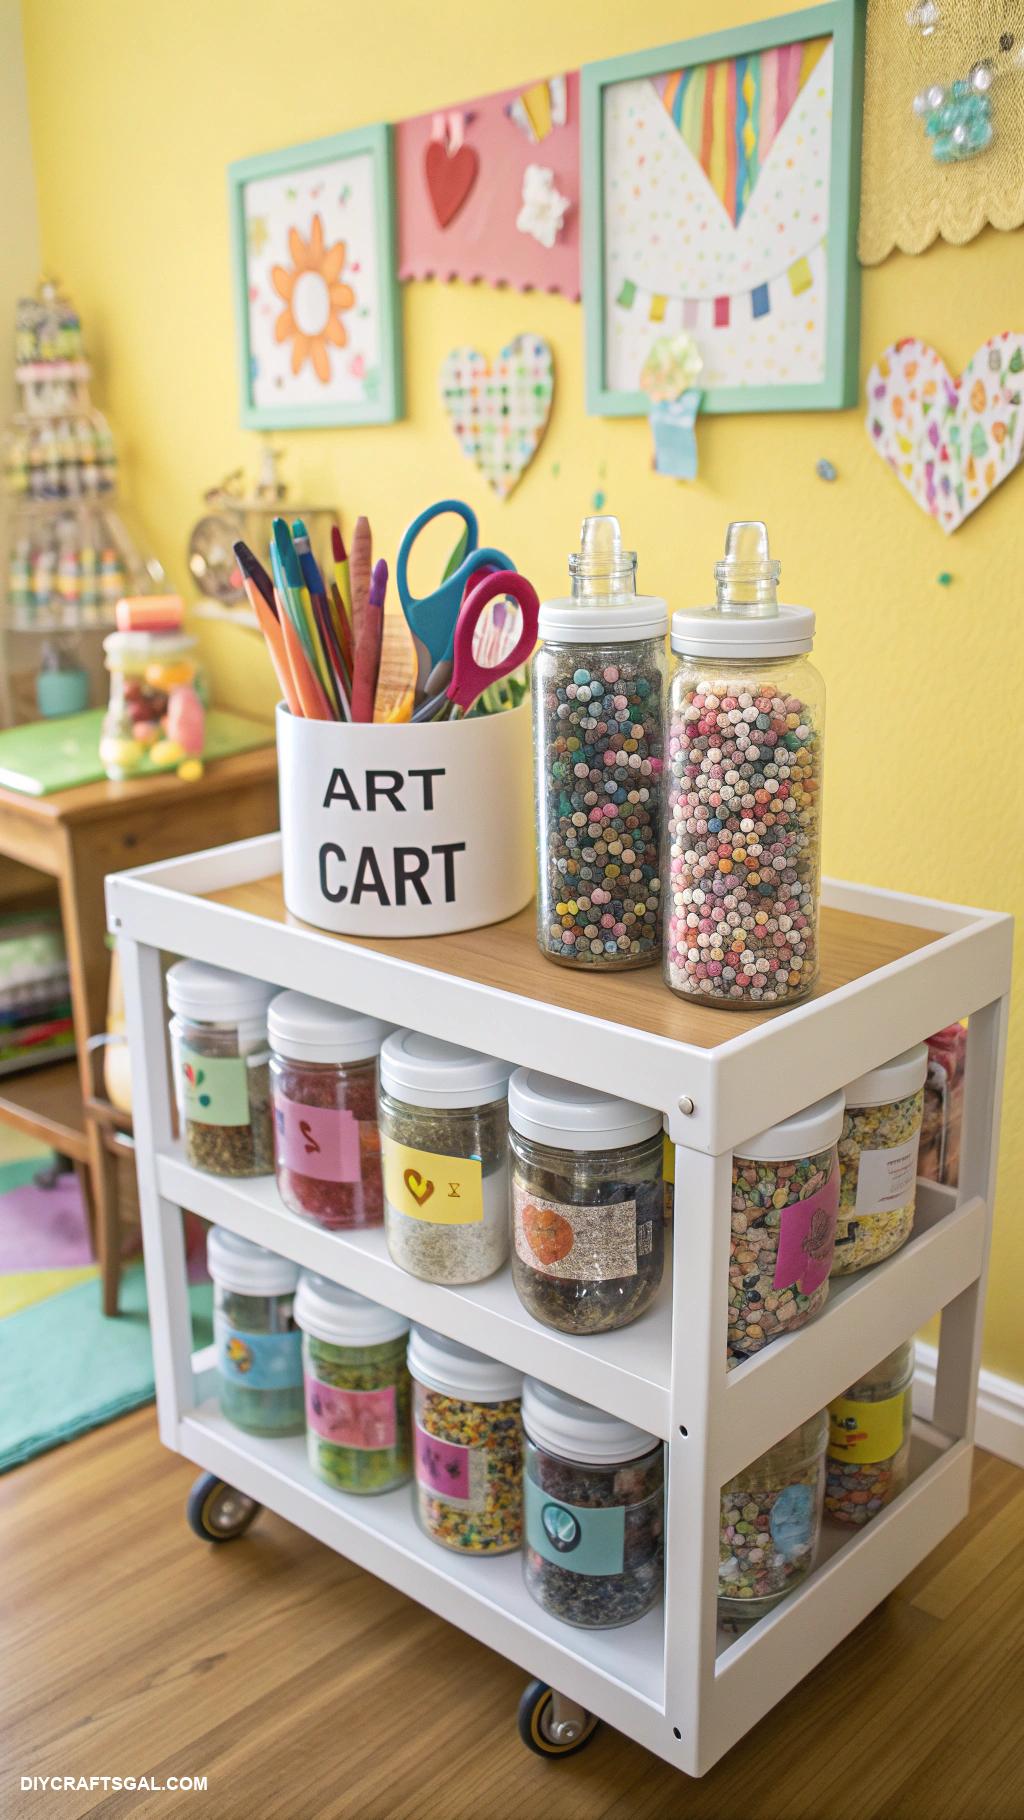
Labeled jars for small items are an essential tool in organizing an art cart for kids, allowing for easy access and storage of craft supplies. Each jar can be filled with different materials such as buttons, beads, or sequins, and clearly labeled to encourage children to find what they need independently. This not only helps keep the workspace tidy but also promotes creativity by ensuring that all materials are visible and accessible. With a little DIY effort, these jars can be personalized to match the theme of the art cart, turning organization into a fun and creative project.
Cereal Box Organizers for Paper
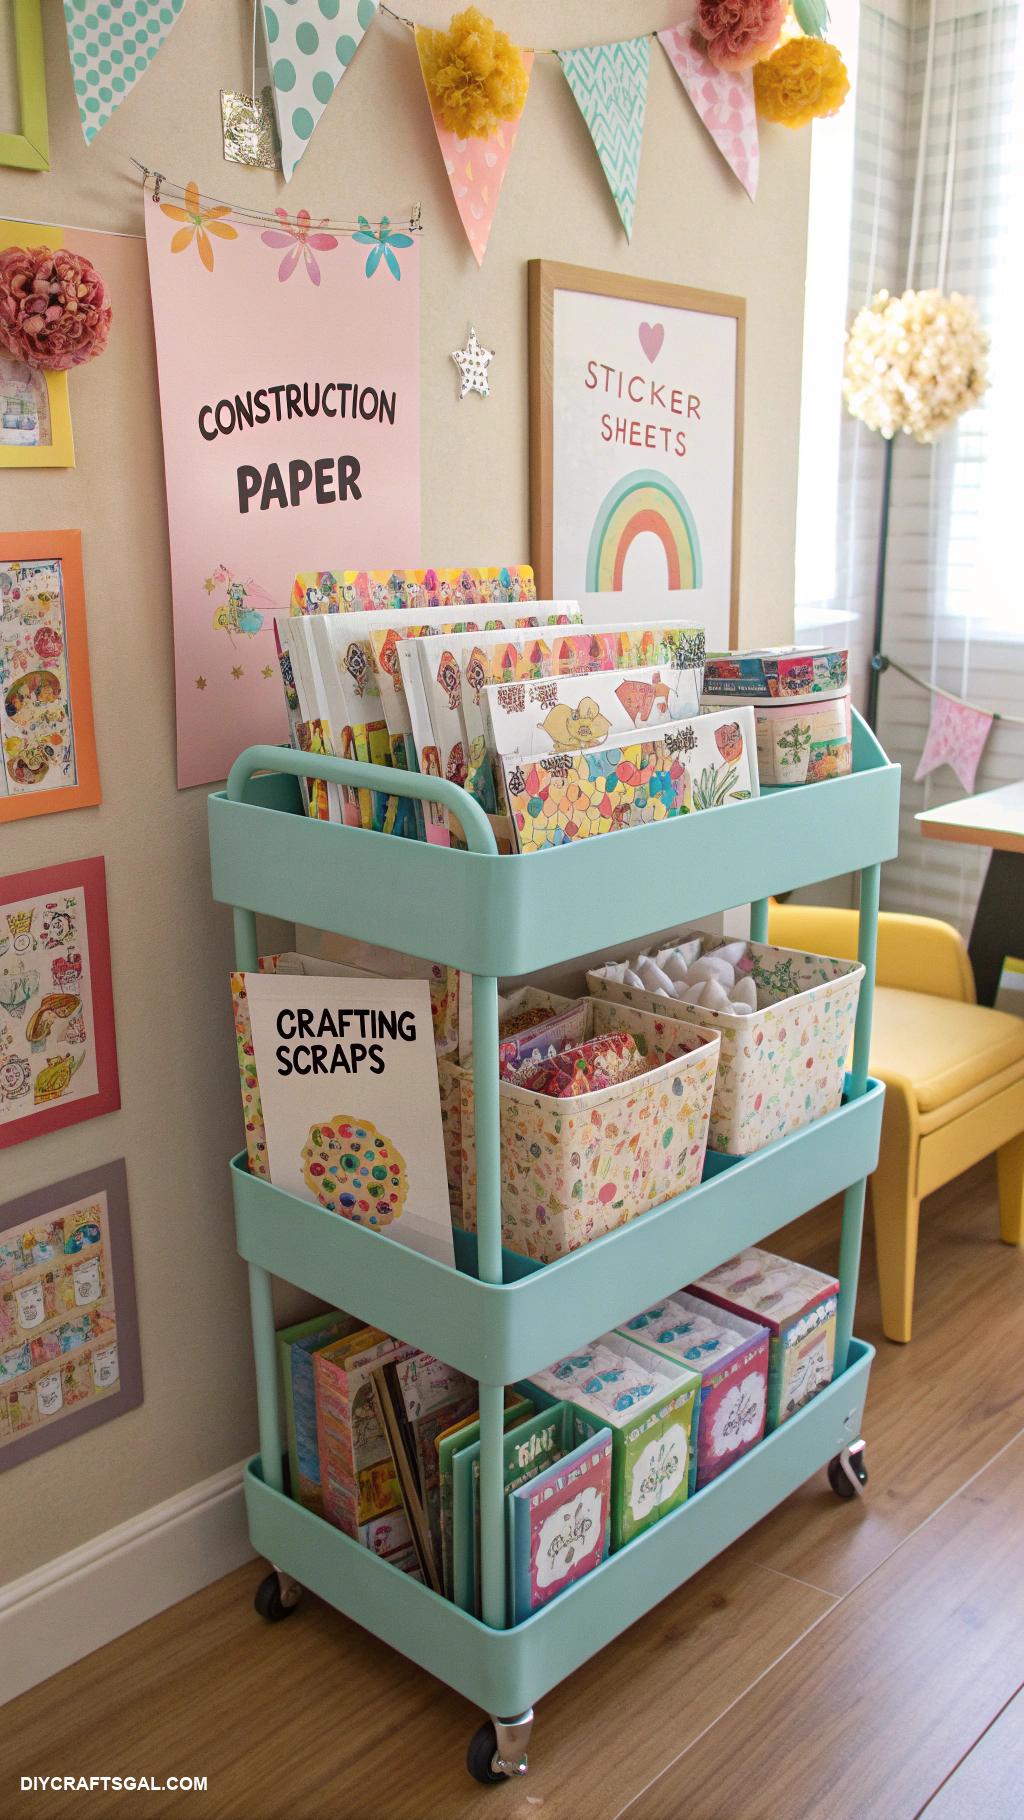
Cereal box organizers are a fantastic and budget-friendly way to keep art supplies neatly arranged for kids. By repurposing empty cereal boxes, you can create dividers that fit perfectly within a cart, offering designated spaces for markers, crayons, and other small items. Simply cut the boxes to your desired height, decorate them with colorful paper or washi tape, and stack them in your art cart for a playful and functional organization solution. This DIY project not only recycles materials but also makes art time more inviting and organized for young artists.
Art Board with Clips for Easy Access
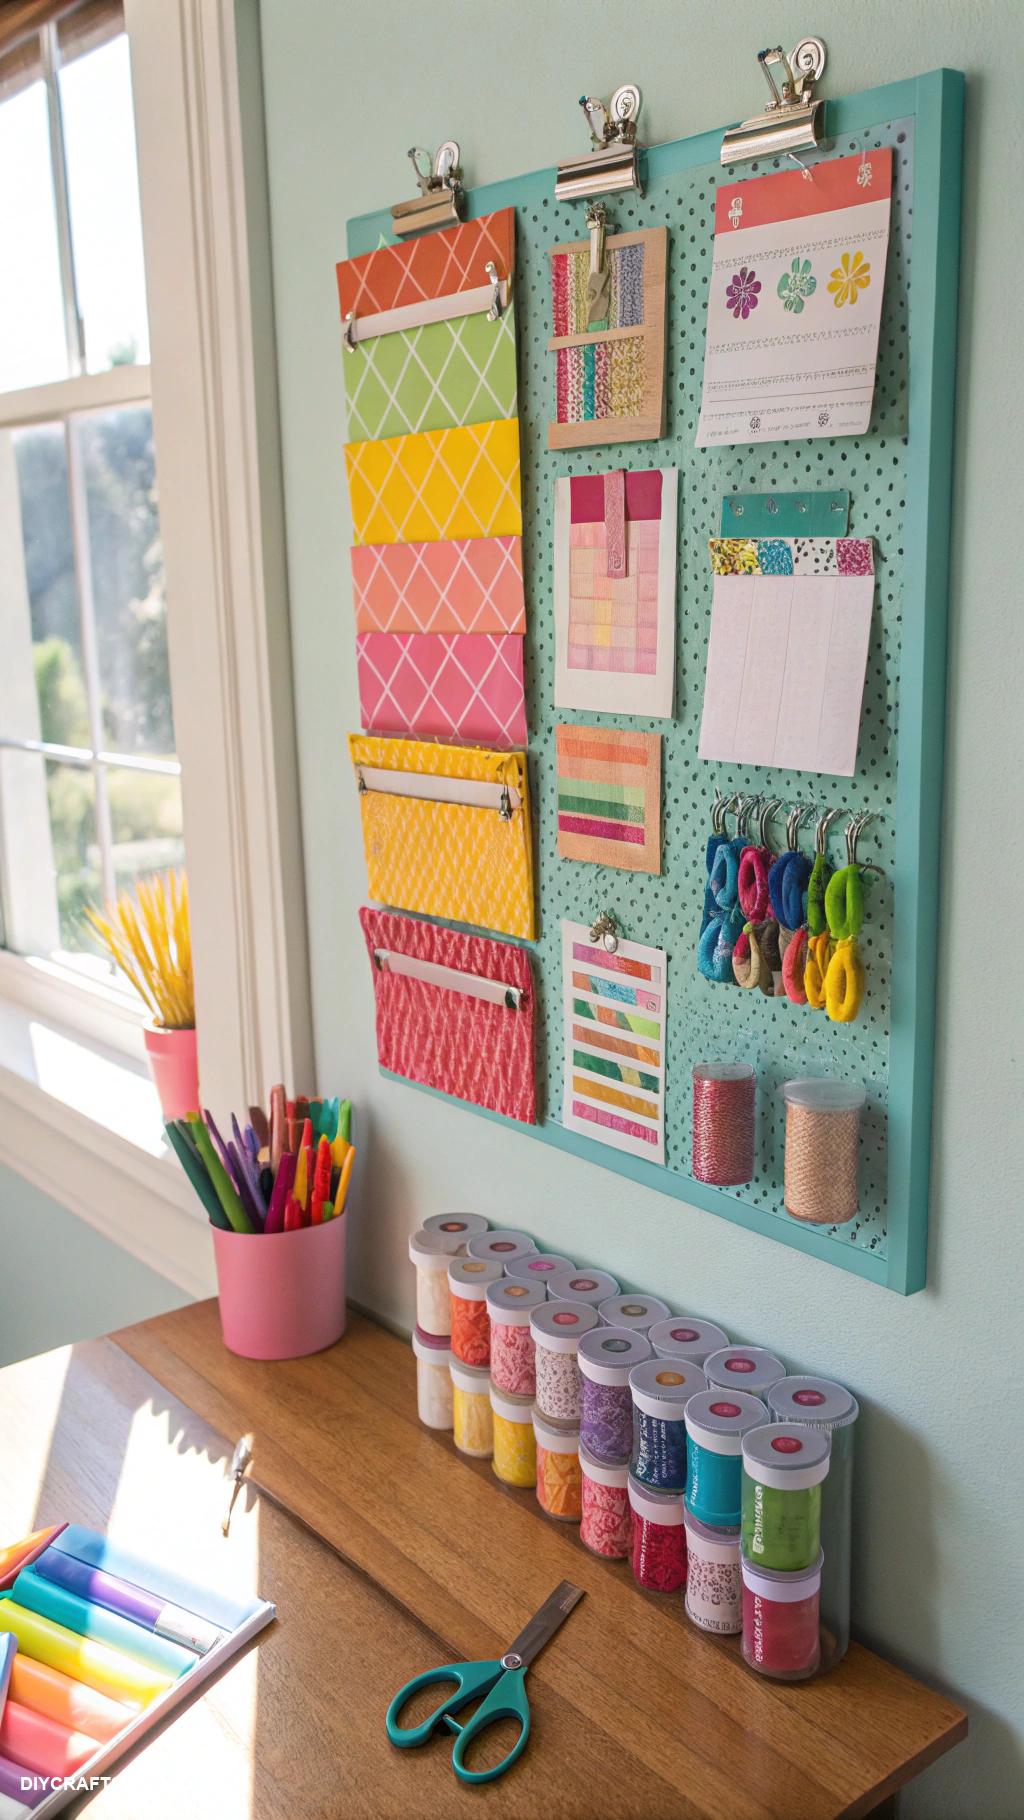
An art board with clips is a perfect addition to any kids’ art cart, providing a designated space for displaying their latest creations while keeping the area organized. Simply attach a large board to the side of the cart and use clothespins or binder clips for easy access to artwork, sketches, or inspiration. This not only keeps the cart tidy, but also encourages creativity by showcasing their work prominently. It’s a fun and functional way to celebrate their artistic efforts and make clean-up a breeze!
Repurposed Dish Rack for Drying Brushes
A repurposed dish rack can be an ingenious addition to an art cart for kids, providing an organized and efficient way to dry paintbrushes after creative sessions. Simply place the brushes in the slots of the rack, allowing them to air dry upright without damaging the bristles. This simple hack not only keeps the brushes separate to avoid mixing colors but also maximizes the use of vertical space on your cart. It’s a fun, eco-friendly solution that encourages young artists to maintain their tools in pristine condition.